Let’s be honest, that shiny new electric skillet sitting on your counter can feel a little intimidating. It looks simple enough, but that temperature probe and the sheer size of it might have you wondering. Well, you’ve come to the right place. Learning How To Use An Electric Skillet is one of the easiest and most rewarding kitchen skills you can pick up. Think of it as your new secret weapon for everything from a perfect Sunday brunch to a quick weeknight dinner.
Forget seeing it as just another gadget. This guide will transform you from a hesitant beginner into a confident skillet master. We’ll walk through every step, from unboxing to cleanup, and show you why this versatile appliance deserves a prime spot in your culinary arsenal. Ready to unlock its full potential? Let’s dive in.
A Quick Trip Back in Time: The Electric Skillet Story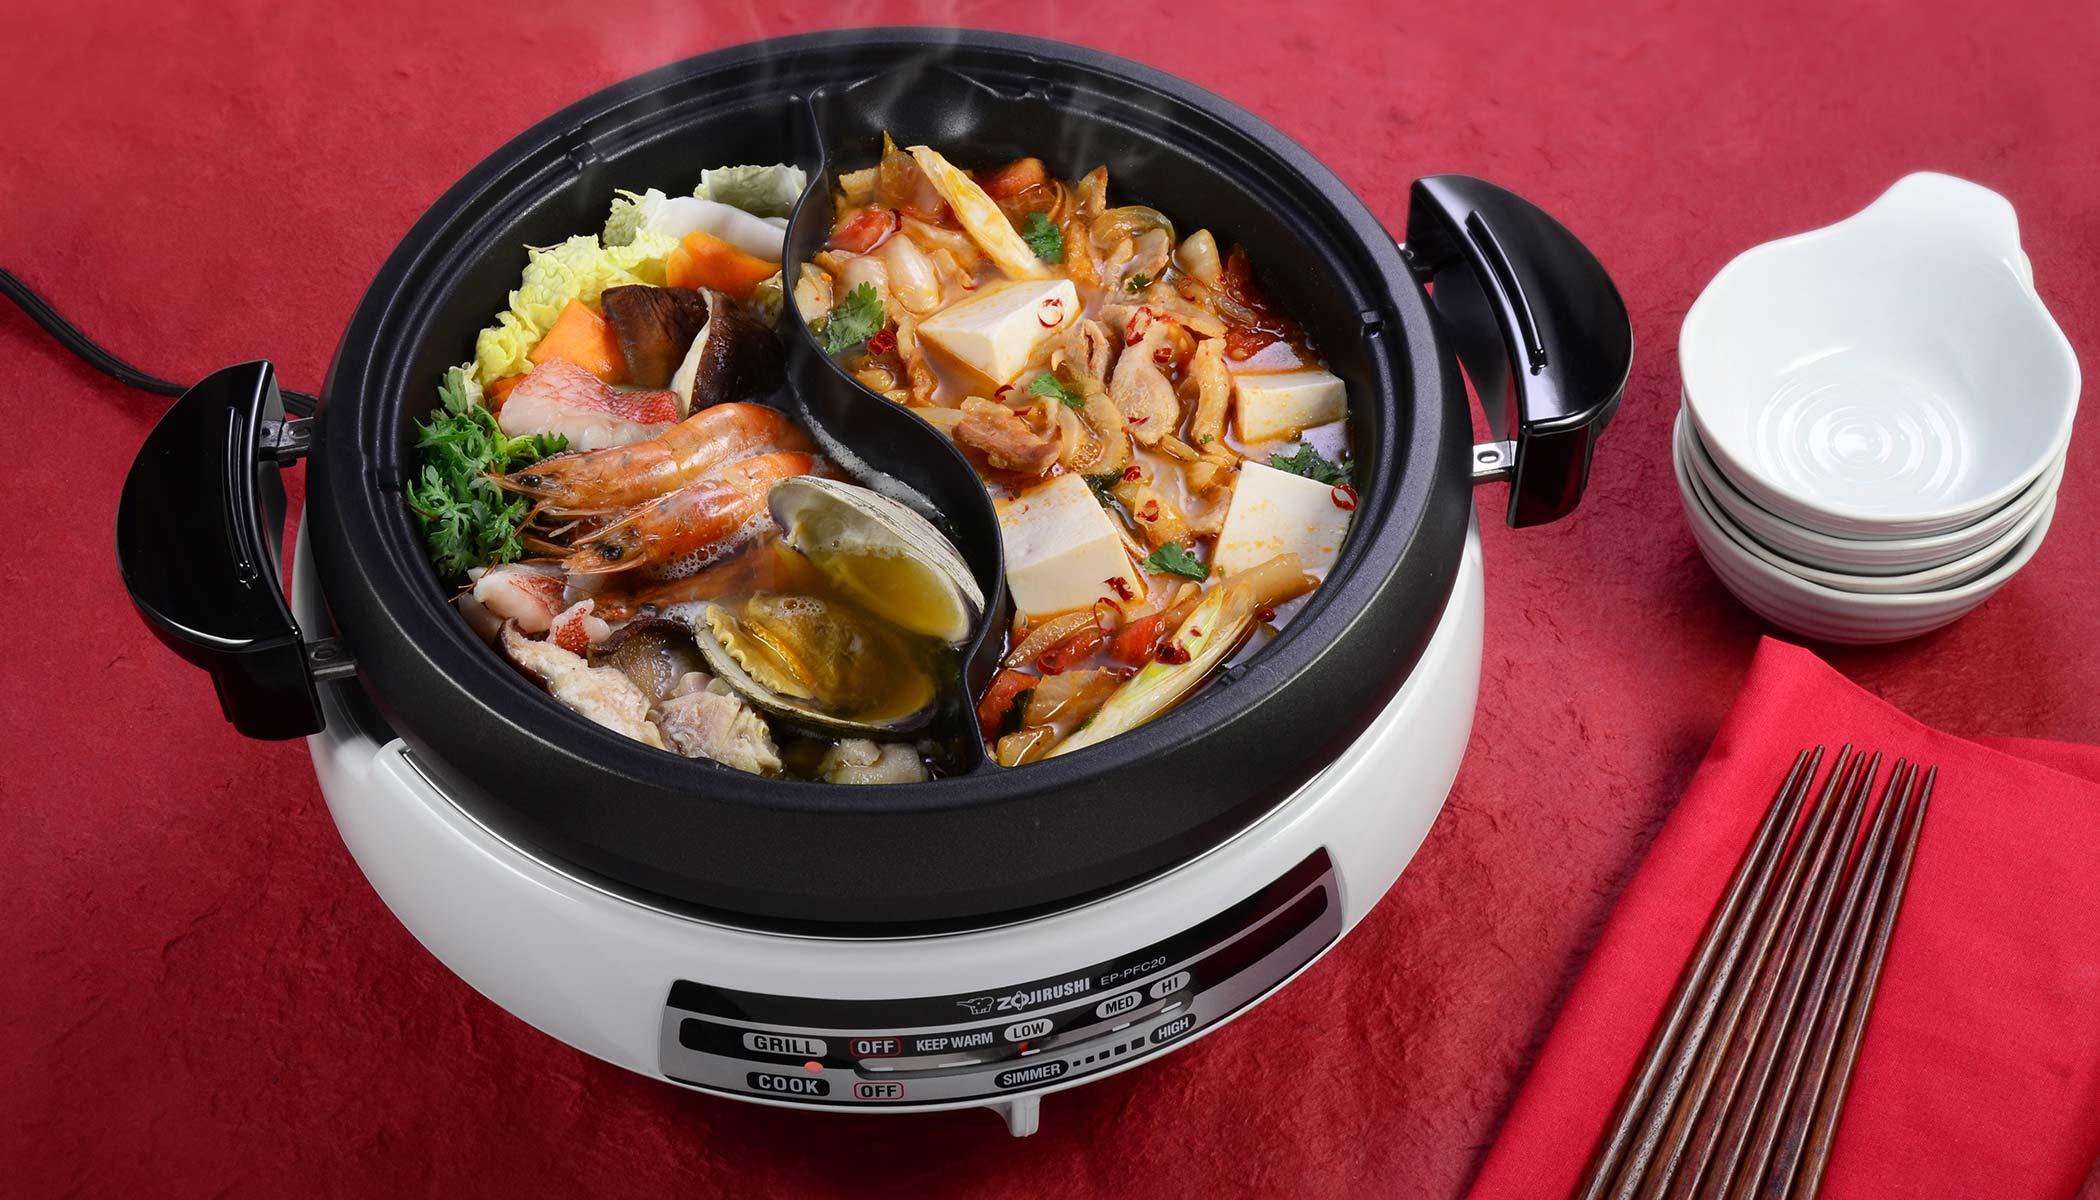
Before we get our hands dirty, a little context is always fun. The electric skillet, or electric frying pan, isn’t a new invention. It hit the mainstream US market in the 1950s, a time of booming post-war innovation in home appliances. It was marketed as a modern marvel that offered precise temperature control, freeing cooks from the guesswork of a stovetop burner. While designs have become more streamlined and non-stick surfaces have improved, the core concept remains the same: a portable, reliable, and incredibly versatile cooking vessel.
What’s in the Box? Unpacking Your Electric Skillet
Most electric skillets consist of the same key components. Understanding what they are and what they do is the first step to success.
- The Skillet/Pan: This is the main body. It’s usually made of cast aluminum for excellent heat distribution and often features a non-stick coating. They come in various shapes—round, square, or rectangular—and depths.
- The Lid: Almost always included, a good lid is crucial for trapping heat and moisture. Many are made of tempered glass so you can peek at your food without letting the heat escape. Some have a steam vent to release pressure.
- The Temperature Control Probe: This is the brain of the operation. It’s a detachable cord with a dial or digital display that you use to set the precise cooking temperature. It plugs directly into the side of the skillet.
- The Base/Legs: These keep the hot surface safely off your countertop.
The Ultimate Guide on How to Use an Electric Skillet
Alright, let’s get down to business. Here is the step-by-step process for using your electric skillet for the first time and every time after.
- Give It a Good First Wash: Before its maiden voyage, wash the skillet pan and lid in warm, soapy water. Never submerge the temperature probe in water. Dry everything thoroughly. This removes any manufacturing residues.
- Find a Safe Spot: Place your skillet on a flat, stable, heat-resistant surface like a countertop. Make sure it’s away from any flammable materials and that the cord can comfortably reach an outlet without being stretched.
- Plug in the Probe (The Right Way): Ensure the temperature probe is turned to the “OFF” position before you do anything else. Insert the probe firmly into its socket on the side of the skillet. Then, plug the other end into a wall outlet.
- Preheat, Preheat, Preheat! This is arguably the most crucial step and the one most people skip. Just like an oven, an electric skillet needs time to reach the desired temperature. Turn the dial to your target heat (most probes have temperatures ranging from “Warm” or 200°F up to 450°F). A small indicator light will turn on. Wait for that light to cycle off—that’s your signal that the skillet is ready.
- Add Your Oil or Fat: Once preheated, add your butter, oil, or other cooking fat. It should heat up and shimmer almost immediately. This helps create a better non-stick barrier and ensures even browning.
- Get Cooking!: Carefully place your food into the hot skillet. You should hear a satisfying sizzle. The beauty of an electric skillet is its large, flat surface area, which is perfect for cooking things in a single layer without overcrowding the pan.
- Adjust as You Go: Keep an eye on your food. If things are browning too quickly, don’t be afraid to dial the temperature down a bit. If you’re simmering a sauce, you can lower it to maintain a gentle bubble. This is the precise control a stovetop often lacks.
- Serving and Unplugging: Once your meal is cooked to perfection, you can often turn the skillet to the “Warm” setting to keep it ready for serving. When you’re completely finished, turn the probe to “OFF,” unplug it from the wall, and then carefully remove it from the skillet to let it cool.
Pro Tips for Electric Skillet Mastery
You’ve got the basics down. Now, let’s elevate your game with a few pro-tips I’ve learned over the years.
- Respect the Non-Stick: If your skillet has a non-stick coating, avoid using metal utensils at all costs. Stick to wood, silicone, or heat-resistant nylon to prevent scratches that can ruin the surface.
- Don’t Overcrowd the Pan: I know it’s tempting to throw everything in at once, but giving your food space is key to getting a good sear. Cooking in batches is better than steaming your food in a crowded pan.
- Use the Lid Strategically: The lid is your friend for braising, steaming, and keeping splatters contained. For frying or getting a crispy crust, leave it off.
- It’s Also a Buffet Server: The “Warm” function is fantastic for parties and family gatherings. You can cook a batch of chili or meatballs and keep them at the perfect serving temperature for hours.
- Cleaning is a Breeze: The best part? Once you remove the temperature probe, the skillet pan itself is usually fully immersible in water (always check your manual!). A gentle scrub with a soft sponge is all it takes. For stubborn messes, just add some water and a drop of dish soap, heat it gently for a few minutes, then let it cool and wipe clean.
|
Our Picks for the Best Electric Skillet in 2026
As an Amazon Associate, we earn from qualifying purchases.
|
||
| Num | Product | Action |
|---|---|---|
| 1 | Crux Extra Deep Nonstick Scratch Resistant Electric Skillet with Removeable Temperature Probe, 12\" x 12\", silver (14620) |

|
| 2 | Elite Gourmet EG808 8” x 8\" Non-stick Electric Skillet, Dishwasher Safe with Tempered Glass Vented Lid, Rapid Heat Up, 600W, Black |
|
| 3 | Chefman XL Electric Griddle with Removable Temperature Control, Immersible Flat Top Grill, Burger, Eggs, Pancake Griddle, Nonstick Extra Large Cooking Surface, Slide Out Drip Tray, 10 x 20 Inch |
|
| 4 | BLACK+DECKER Electric Skillet, Variable Temperature Control, Nonstick Cooking Surface, Dishwasher Safe, Tempered Glass Lid, 12\"x15\" |
|
| 5 | Presto 07117 12\" Electric Skillet with glass cover |
|
| 6 | Presto 06857 16-inch Electric Foldaway Skillet, Black |
|
| 7 | bella Make & Take Electric Skillet, Fits-anywhere™ kitchenware, EverGood™ Ceramic Coating, Adjustable Temperature & Dishwasher-Safe Tempered Glass Lid, Cast Aluminum Base, 1200 Watt, Surf |
|
| 8 | Elite Gourmet 12\" x 12\" x 3” Ceralast™ Ceramic Non-stick PFAS Free, Dishwasher Safe Electric Skillet, Xtra Deep Dish, Rapid Heat 1200W, Black |
|
| 9 | Elite Gourmet EG-6203# Extra Deep 16\"x13\"x3.2\" (10.5Qt.) Scratch Resistant, Easy Pour Spout Dishwasher Safe, Non-stick Electric Skillet with Glass Vented Lid, Adjustable Temperature, Black |
|
| 10 | Presto 06852 16-Inch Electric Skillet with Glass Cover |
|
Why Should I Bother With an Electric Skillet?
You might be thinking, “I have a stove, why do I need this?” It’s a fair question. An electric skillet isn’t meant to replace your stove, but to complement it in ways that might surprise you.
According to appliance engineer Dr. Eleanor Vance, “The true genius of the modern electric skillet lies in its thermostatic control probe. It constantly measures the temperature of the cooking surface and cycles the power on and off to maintain it with incredible precision, something a standard stovetop burner simply cannot do.”
Here are the key benefits:
- Incredible Temperature Control: As Dr. Vance noted, the ability to set a temperature and have the skillet hold it there is a game-changer for delicate tasks like frying donuts or cooking pancakes.
- Portability: You can use it anywhere there’s an outlet. Think patio, garage, or even an RV. It’s a portable kitchen.
- Extra “Burner”: During big holiday meals when your stovetop is maxed out, the electric skillet provides an essential extra cooking surface for side dishes.
- Energy Efficiency: For many tasks, heating a single skillet is more energy-efficient than firing up a large stovetop burner, especially an electric one.
- Keeps the Kitchen Cool: In the summer, using an electric skillet on the porch or in another room can help keep your kitchen from turning into a sauna.
What Can You Actually Cook in an Electric Skillet?
The better question is, what can’t you cook? Its even heat and deep sides make it more versatile than a standard frying pan.
What is a good way to start cooking with an electric skillet?
A great way to start is with breakfast foods. They are forgiving and perfectly showcase the skillet’s even heating. Try a batch of pancakes or French toast; you’ll be amazed at how evenly they brown without any hot spots.
Here are just a few ideas to get you started:
- Breakfast Classics: Fluffy pancakes, crispy bacon, French toast, scrambled eggs for a crowd, hash browns.
- Lunch & Dinner Favorites: Pan-seared chicken thighs, fried chicken, shallow-fried fish fillets, burgers, stir-fries, fajitas, braised short ribs, and even skillet pizza.
- One-Pot Meals: Think of it as a wide, shallow slow cooker. It’s perfect for simmering chili, hearty stews, or pasta sauces.
- Deep Frying: With its deep sides and precise temperature control, it’s ideal for making donuts, fritters, or tempura.
Looking for inspiration? Why not try our [foolproof recipe for electric skillet fried chicken]?
Frequently Asked Questions About Using an Electric Skillet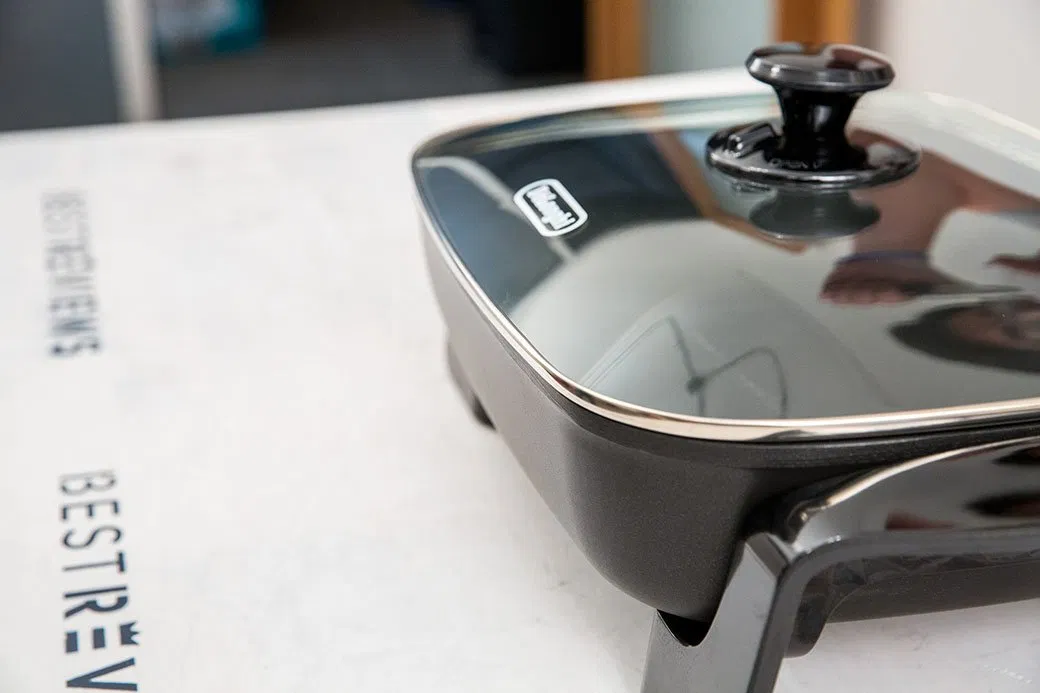
Q: Can I put my electric skillet in the dishwasher?
A: Many modern electric skillet pans are listed as dishwasher-safe after the temperature probe has been removed. However, we always recommend hand-washing to preserve the longevity of the non-stick coating. Always check your user manual first.
Q: What temperature should I use for frying chicken in an electric skillet?
A: For classic fried chicken, a temperature of 350-375°F (175-190°C) is ideal. The skillet’s ability to maintain this temperature is what ensures crispy skin and juicy, fully-cooked meat.
Q: Can I use an electric skillet for deep frying?
A: Yes, you can! Just make sure you don’t fill it more than halfway with oil to prevent dangerous boil-overs. Its temperature control makes it safer and more reliable than a pot on the stove for deep frying.
Q: My food is sticking to the non-stick surface. What am I doing wrong?
A: This usually happens for two reasons: not preheating the pan properly, or not using enough oil or fat. Make sure the pan is fully heated before adding anything, and use a thin layer of oil. Also, avoid using aerosol cooking sprays, which can build up a residue over time.
Q: Can I cook from frozen in my electric skillet?
A: Yes, for many items like frozen burger patties or fish fillets, you can cook them directly from frozen. You will need to increase the cooking time accordingly and use a lower temperature initially to ensure the inside cooks through without burning the outside.
Your New Kitchen Sidekick
There you have it—everything you need to know about how to use an electric skillet. It’s far more than just a frying pan. It’s a deep fryer, a buffet server, a griddle, and a braiser all rolled into one efficient, portable package. By following these simple steps and tips, you’re well on your way to making this classic appliance a modern-day hero in your kitchen.
Now go ahead, plug it in, and get cooking! We’d love to hear about your first electric skillet creation in the comments below.