Picture this: you’re all set to whip up a batch of crispy fried chicken or a perfect Sunday morning pancake breakfast. You pull out your trusty electric skillet, your go-to kitchen workhorse, but something’s wrong. It’s not heating up, it’s scorching everything in one spot, or it just won’t turn on. Let’s be honest, few things are more frustrating in the kitchen than an appliance that suddenly quits on you. But before you banish it to the appliance graveyard, take a deep breath. Most Common Electric Skillet Problems are surprisingly easy to diagnose and fix right at home.
As the Senior Content Specialist here at Electric Skillet Guide, I’ve seen it all. I’ve heard the tales of woe and, more importantly, I’ve helped countless home cooks get their favorite gadget back in action. This guide is your personal troubleshooting manual. We’ll walk through the most frequent issues, explain why they happen in simple terms, and give you the step-by-step solutions to get you back to cooking in no time.
Your Guide to Solving Common Electric Skillet Problems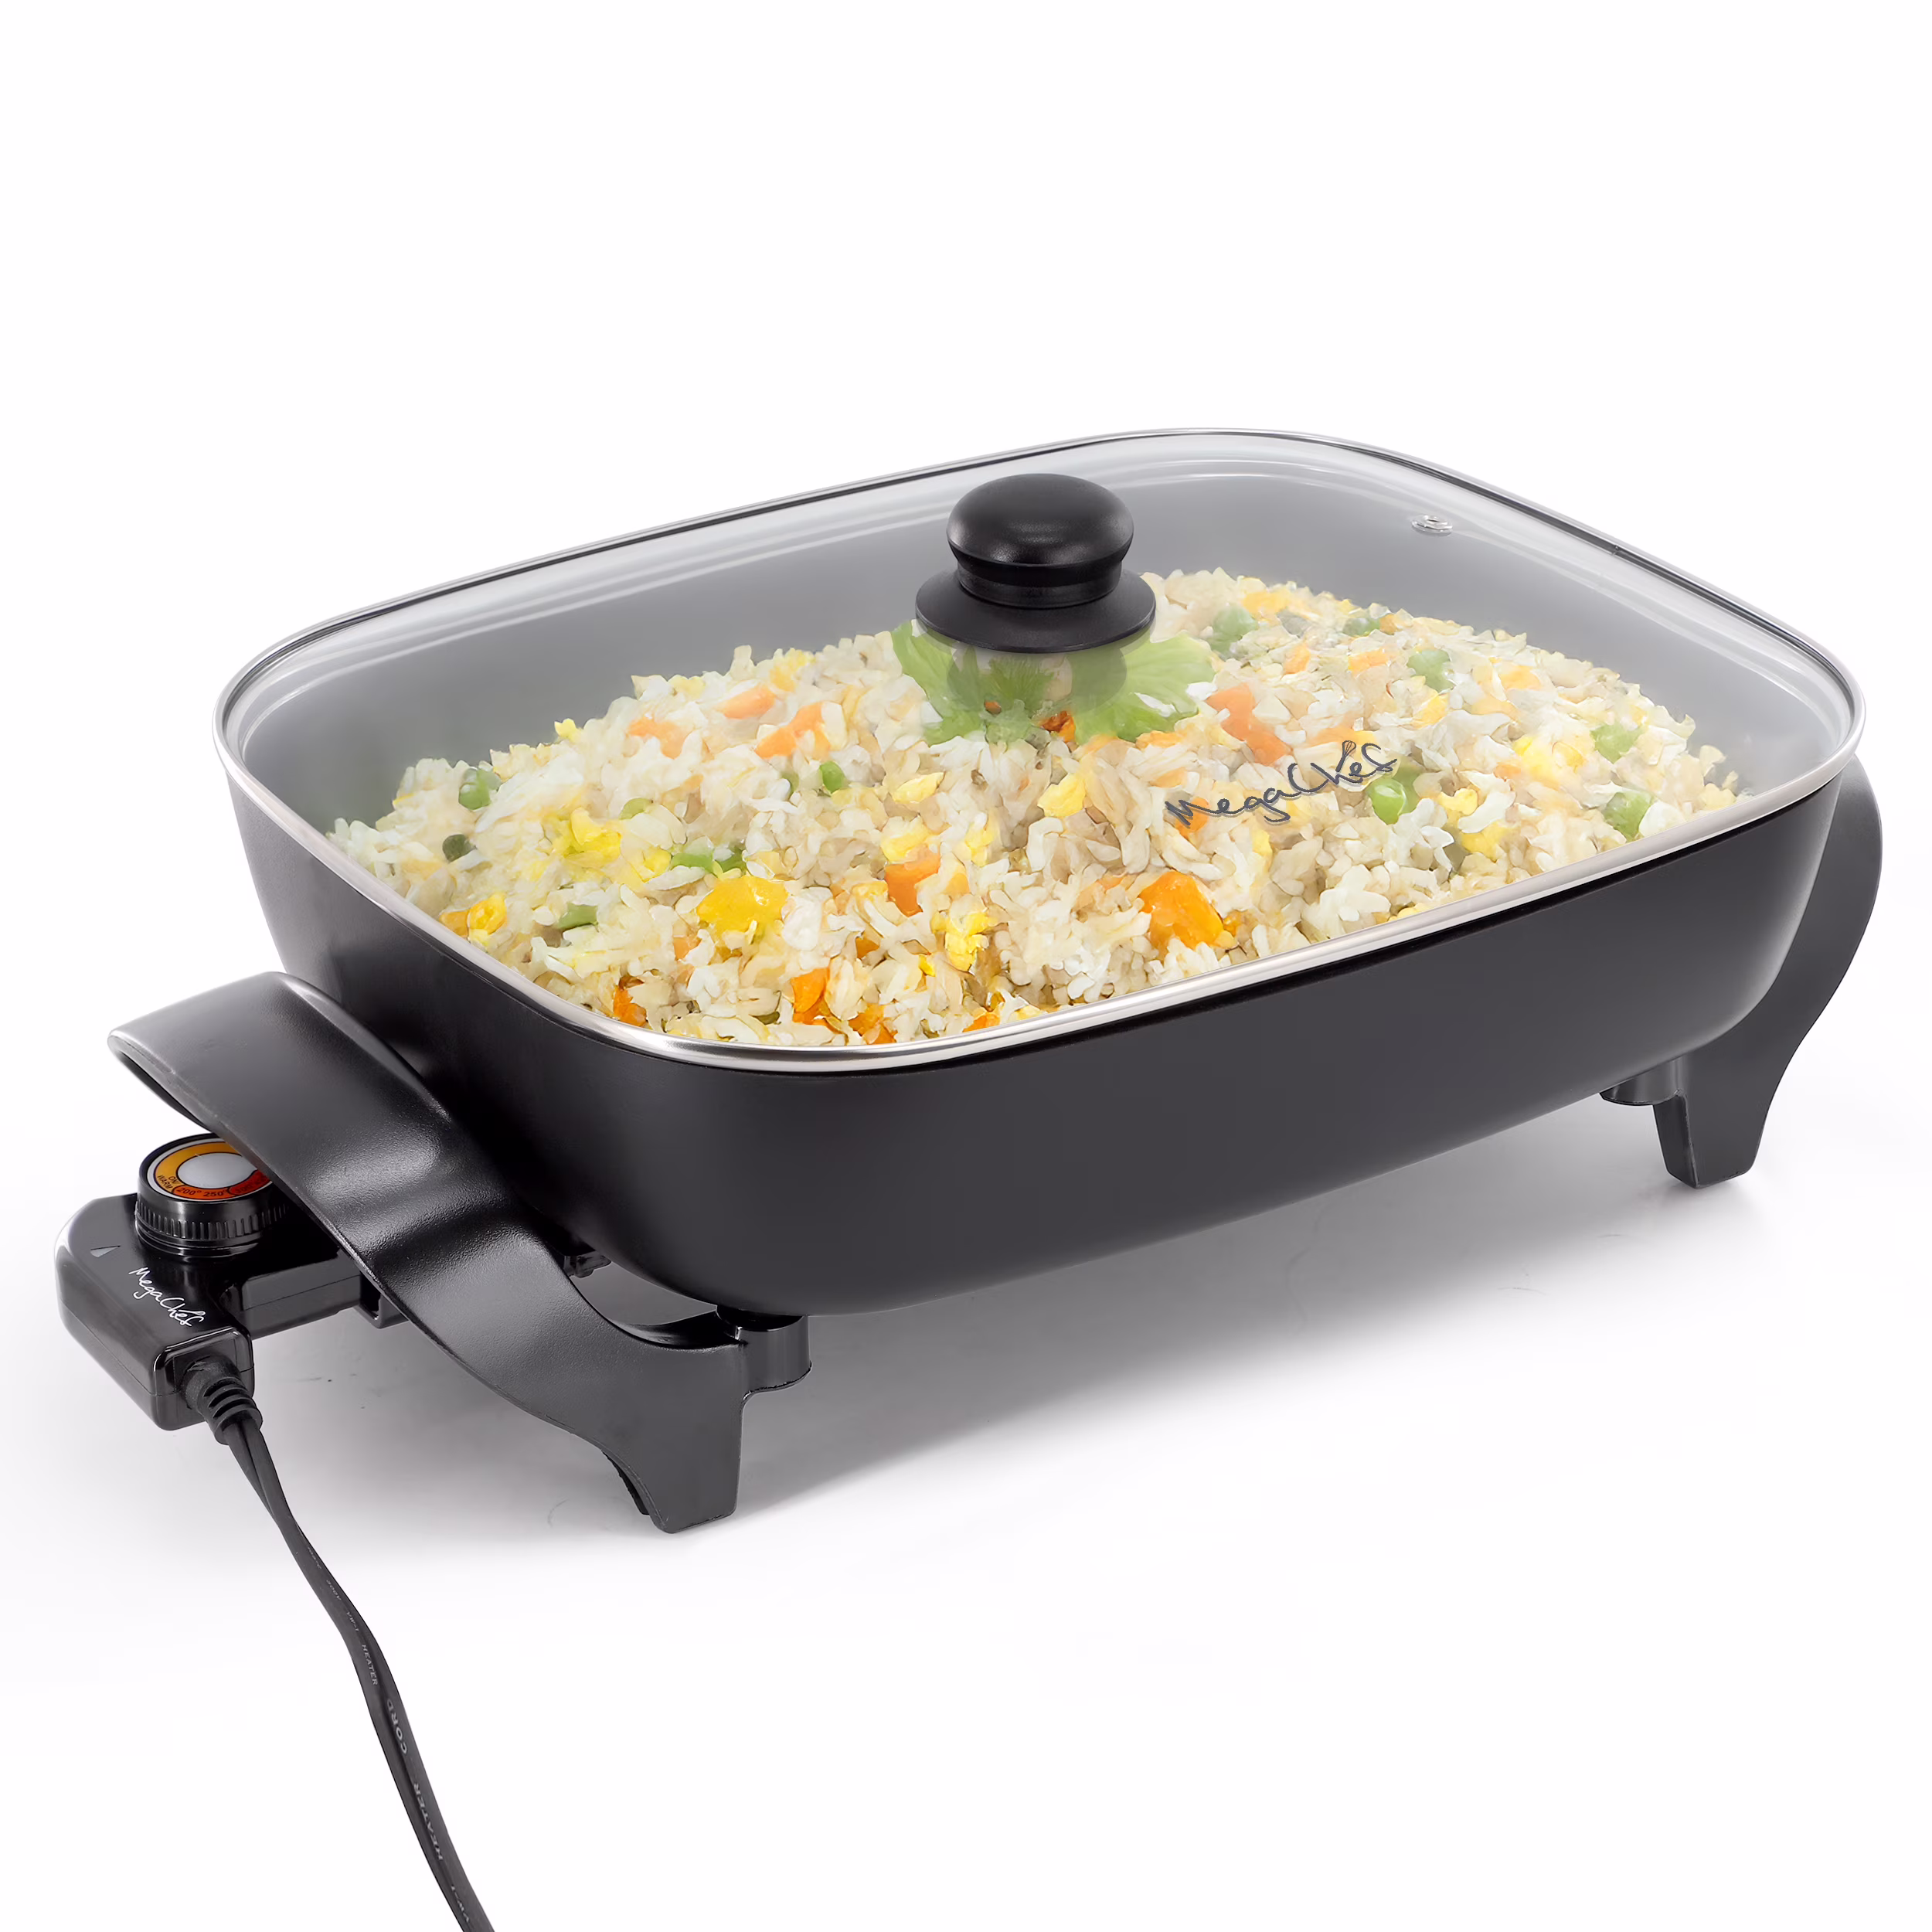
An electric skillet is a beautifully simple machine, but that simplicity can sometimes be deceiving when a problem pops up. The good news is that most issues boil down to just a few key components: the heating element, the temperature control probe, and the cooking surface itself. Let’s dive in.
Problem 1: My Skillet Heats Unevenly or Has Hot Spots
This is easily the most reported issue. You place your food in the skillet, and one side is perfectly golden brown while the other is barely cooked. These dreaded “hot spots” can ruin a dish and make you question your cooking skills.
The short answer is that uneven heating is usually caused by a partially failing heating element or an improperly seated temperature probe. The element, typically a serpentine-shaped tube embedded in the skillet’s base, is designed to distribute heat evenly. When a section of it starts to fail, you get an inconsistent cooking surface.
How to Fix Uneven Heating
- Check the Probe Connection: First things first, unplug the skillet. Now, remove the temperature probe and re-insert it firmly. Sometimes, a loose or slightly crooked connection is all it takes to throw off the heat distribution. Make sure it clicks or feels securely seated.
- Preheat Properly: Don’t just crank it to 400°F and throw your food in. Give your skillet a solid 5-10 minutes to preheat. This allows time for the heat to spread evenly across the entire surface, minimizing hot spots. Think of it like preheating an oven—it’s non-negotiable for good results.
- Don’t Overcrowd the Pan: This is a cardinal sin of all pan-cooking, but it’s especially noticeable with an electric skillet. Piling in too much cold food at once causes the surface temperature to plummet in those areas, leading to steaming instead of searing and creating the illusion of hot spots. Cook in batches if you have to!
- Rotate the Skillet (A Clever Hack): If you suspect a permanent hot spot due to an aging element, you can sometimes work around it. If you notice the back-right corner is always hotter, simply rotate the entire skillet 180 degrees halfway through cooking. It’s a low-tech solution, but it works surprisingly well.
Problem 2: The Temperature is All Wrong (Too Hot or Not Hot Enough)
You set the dial to a gentle 250°F for simmering, and suddenly your sauce is boiling violently. Or worse, you set it to 400°F for a good sear, and you can barely get a sizzle. When the temperature on the dial doesn’t match the reality on the cooking surface, the culprit is almost always the temperature control probe.
According to home appliance engineer, Sarah Jenkins, “The thermostatic control probe is the brain of the electric skillet. It contains a sensor that measures the skillet’s temperature and tells the heating element when to turn on and off. 90% of temperature inaccuracy problems originate in this detachable probe.”
How to Fix Temperature Control Issues
- Clean the Contacts: Unplug everything. Look at the two metal prongs on the probe and the corresponding holes on the skillet. Over time, grease and grime can build up here, interfering with the electrical connection. Clean both the prongs and the inside of the connection port with a cotton swab dipped in rubbing alcohol. Let it dry completely before plugging it back in.
- Check for Damage: Inspect the probe’s cord for any frays, cracks, or kinks. A damaged cord can disrupt the power flow and cause erratic behavior. If you see damage, the probe needs to be replaced. Do not attempt to use a probe with a damaged cord.
- Consider a Replacement: Probes are generally inexpensive and can be purchased from the manufacturer or online. It’s often more cost-effective to replace the probe than the entire skillet. Make sure you buy a replacement that is specifically compatible with your skillet’s brand and model.
Problem 3: My Electric Skillet Won’t Turn On at All
The ultimate frustration: you plug it in, turn the dial, and… nothing. No light, no heat, no hope. This dead-on-arrival scenario can feel like a major failure, but it’s often the easiest fix of all. We just need to trace the path of the electricity.
|
Our Picks for the Best Electric Skillet in 2026
As an Amazon Associate, we earn from qualifying purchases.
|
||
| Num | Product | Action |
|---|---|---|
| 1 | Presto 07117 12\" Electric Skillet with glass cover |

|
| 2 | Crux Extra Deep Nonstick Scratch Resistant Electric Skillet with Removeable Temperature Probe, 12\" x 12\", silver (14620) |
|
| 3 | BLACK+DECKER Electric Skillet, Variable Temperature Control, Nonstick Cooking Surface, Dishwasher Safe, Tempered Glass Lid, 12\"x15\" |
|
| 4 | Presto 06852 16-Inch Electric Skillet with Glass Cover |
|
| 5 | Elite Gourmet EG808 8” x 8\" Non-stick Electric Skillet, Dishwasher Safe with Tempered Glass Vented Lid, Rapid Heat Up, 600W, Black |
|
| 6 | Elite Gourmet EG-6203# Extra Deep 16\"x13\"x3.2\" (10.5Qt.) Scratch Resistant, Easy Pour Spout Dishwasher Safe, Non-stick Electric Skillet with Glass Vented Lid, Adjustable Temperature, Black |
|
| 7 | bella Make & Take Electric Skillet, Fits-anywhere™ kitchenware, EverGood™ Ceramic Coating, Adjustable Temperature & Dishwasher-Safe Tempered Glass Lid, Cast Aluminum Base, 1200 Watt, Surf |
|
| 8 | Elite Gourmet 12\" x 12\" x 3” Ceralast™ Ceramic Non-stick PFAS Free, Dishwasher Safe Electric Skillet, Xtra Deep Dish, Rapid Heat 1200W, Black |
|
| 9 | Chefman XL Electric Griddle with Removable Temperature Control, Immersible Flat Top Grill, Burger, Eggs, Pancake Griddle, Nonstick Extra Large Cooking Surface, Slide Out Drip Tray, 10 x 20 Inch |
|
| 10 | Presto 06857 16-inch Electric Foldaway Skillet, Black |
|
What to Do When Your Skillet is Completely Dead
- Start with the Obvious: Is it plugged in? Is the outlet working? Plug a lamp or your phone charger into the same outlet to confirm it has power. If not, check your home’s circuit breaker.
- Reseat the Probe: Just like with uneven heating, a poorly connected probe is a primary suspect. The probe completes the electrical circuit, so if it’s not seated correctly, no power will get to the skillet. Unplug it and plug it back in firmly.
- Inspect the Cord and Probe: Give the entire power cord and probe a thorough visual inspection. Any visible damage could be the cause.
- Look for an Internal Fuse (Advanced): Some older models may have a small, internal thermal fuse that can blow if the skillet overheats. Replacing this is a task for someone comfortable with basic electronics and is often not worth the effort for most users. If you’ve tried everything else, this might be the cause, but it usually signals it’s time for a new skillet. You can find some excellent options in
[our guide to the best electric skillets of the year].
Problem 4: Everything Sticks to the Surface!
You bought a non-stick skillet for a reason, right? So when your eggs weld themselves to the bottom, it’s a real letdown. This is one of those common electric skillet problems that is almost always related to usage and care, not a defect.
The non-stick coating on your skillet is a delicate surface. High heat, metal utensils, and improper cleaning can degrade it over time, causing food to stick.
How to Keep Your Non-Stick Surface Slick
- Use the Right Utensils: Never use metal spatulas, forks, or knives in your non-stick skillet. They will scratch and compromise the coating. Stick to wood, silicone, or nylon utensils.
- Manage Your Heat: Don’t preheat an empty non-stick skillet on the highest setting for a long time. This can cause the coating to break down and release fumes. Always add a little oil or butter before you begin preheating.
- Clean it Gently: Avoid abrasive scrubbers or steel wool like the plague. A soft sponge with warm, soapy water is all you need. For stubborn, stuck-on food, let it soak for a while or simmer a little water in the skillet to loosen the debris. For more tips, check out
[our complete guide to cleaning non-stick cookware]. - Season Your Skillet? While you don’t “season” a Teflon or modern non-stick surface in the traditional sense, you can help restore some of its slickness. After cleaning and thoroughly drying it, wipe a very thin layer of cooking oil over the entire surface with a paper towel. This can help fill in microscopic pores in a worn coating.
Frequently Asked Questions (FAQ)
Q: Can I submerge my electric skillet in water to clean it?
A: Absolutely not! Unless your model explicitly states it is “fully immersible,” you must never submerge the base. Water can damage the electrical components permanently. Always detach the temperature probe and wash the skillet pan by hand, keeping the probe connection port dry.
Q: Why is the indicator light on my temperature probe flickering?
A: This is usually normal. The light indicates when the heating element is actively drawing power. It will turn on to heat the skillet to your set temperature, then cycle on and off to maintain that temperature. Constant flickering, however, could signal a loose connection.
Q: What should I do if the non-stick coating is peeling or flaking?
A: If the non-stick coating is flaking off, it’s time to replace the skillet. Ingesting the flakes isn’t toxic, but it means the surface is compromised and will no longer be non-stick. It’s a safety and performance issue.
Q: Is it safe to use an extension cord with my electric skillet?
A: It’s strongly recommended to plug your electric skillet directly into a wall outlet. These appliances draw a significant amount of power, and a standard, light-duty extension cord can overheat and become a fire hazard. If you must use one, ensure it is a heavy-duty appliance extension cord rated for the wattage of your skillet.
Q: My skillet has a wobbly leg. Can I fix it?
A: Yes, in most cases. Unplug the skillet and turn it upside down. The feet or handles are usually attached with simple screws. Use the appropriate screwdriver to tighten them. If the plastic around the screw is cracked, you may need to contact the manufacturer for a replacement part.
Your Skillet’s Second Chance
There you have it. A deep dive into the most common electric skillet problems and their surprisingly simple fixes. More often than not, a little bit of know-how is all it takes to turn a kitchen frustration into a triumphant fix. By understanding how this simple appliance works, you can extend its life, improve its performance, and continue to enjoy the convenience and versatility it brings to your kitchen.
So, the next time your skillet acts up, don’t despair. Come back to this guide, work through the steps, and give your appliance the second chance it deserves. Happy cooking! We’d love to hear about your own troubleshooting successes in the comments below.