Ever stand over your electric skillet, a gorgeous, thick-cut steak in hand, and feel a wave of uncertainty? You know you want that deep brown, restaurant-quality crust, that incredible flavor that only comes from a perfect sear. But then you look at the dial – 250, 300, 350, 400… What Is The Best Heat Setting For Searing? It’s a question that can turn a confident cook into a hesitant one. Well, let’s clear the air once and for all. Forget the guesswork; we’re about to turn your electric skillet into a searing machine.
Why Searing is More Than Just “High Heat”
Before we dial it in, let’s get a little nerdy for a second. What we’re actually trying to achieve is a magical little thing called the Maillard reaction. It’s the chemical process between amino acids and reducing sugars that gives browned food its distinctive flavor and color. It’s the reason toast tastes better than bread, and a seared steak tastes infinitely better than a steamed one.
The key to unlocking this magic is intense, direct heat. But – and this is a big “but” – “high heat” isn’t a one-size-fits-all command. Cranking your skillet to its absolute maximum might sound like a good idea, but it can often lead to a burnt exterior and a raw interior, not to mention a kitchen full of smoke. The goal is controlled, efficient heat.
So, What Is the Best Heat Setting for Searing, Really?
The short and sweet answer is that the best heat setting for searing in most electric skillets is between 400°F and 450°F (approximately 200°C to 230°C). This is the sweet spot that’s hot enough to trigger a rapid Maillard reaction without instantly burning your food or your oil.
This temperature range provides the intense, surface-level heat needed to create that coveted crust on meats like steak, pork chops, and chicken thighs. It allows you to develop that beautiful color and complex flavor in just a few minutes per side, before the inside has a chance to overcook.
The “Goldilocks Zone” for Electric Skillets
Think of 400-450°F as the “Goldilocks Zone.”
- Below 400°F: The skillet isn’t quite hot enough. Your food will start to cook through gently, more like simmering in its own juices. It will eventually brown, but you’ll miss out on that hard, crisp sear and risk overcooking the center, resulting in tough, grey meat.
- Above 450°F: You’re entering the danger zone. Most cooking oils begin to break down and smoke excessively at this point, which can impart a bitter, burnt taste. The food’s surface can also scorch before a proper crust has time to form. It’s a recipe for a smoke alarm symphony and a disappointing dinner.
But What About My Skillet’s Dial? Low, Med, High?
Not all electric skillets come with precise temperature markings. If yours just has a vague “Low-Med-High” dial, don’t panic. For most models, the “High” or “Medium-High” setting will correspond to our target searing temperature. A good rule of thumb is to set it about three-quarters of the way to the maximum. The key, as we’ll see next, is to learn to read the signs your skillet is giving you.
A Step-by-Step Guide to the Perfect Sear
Knowing the temperature is half the battle. The other half is technique. Follow these steps, and you’ll be searing like a pro in no time.
- Pat It Dry. Seriously. Moisture is the mortal enemy of a good sear. It creates steam, which cools the pan’s surface and prevents browning. Use paper towels to pat your meat or vegetables completely dry before seasoning.
- Season Generously. Just before you’re ready to cook, season all sides of your food with salt and pepper. Salting too early can draw out moisture, which we just worked so hard to eliminate.
- Preheat the Skillet. This is non-negotiable. Set your skillet to your target temperature (400-450°F) and let it come fully up to heat. This can take 5-10 minutes. An under-heated pan will suck the life out of your sear.
- Add Your Oil. Once the skillet is hot, add a tablespoon or two of a high-smoke-point oil. Think grapeseed, canola, avocado, or refined peanut oil. Avoid extra virgin olive oil or butter for the initial sear, as they will burn.
- The Sizzle Test. The oil should shimmer and flow easily, almost like water. If you want to be sure, you can flick a tiny drop of water into the pan. If it sizzles and evaporates instantly, you’re good to go.
- Place and Press. Gently place your food into the hot skillet. You should hear a loud, confident sizzle. Lightly press down on the protein for a few seconds to ensure full contact with the surface.
- Don’t Touch It! Resist the urge to poke, prod, or move the food around. Let it sit undisturbed for 2-4 minutes (depending on thickness) to form that beautiful crust. It will release from the pan naturally when it’s ready.
- Flip and Finish. Once you have a deep, golden-brown crust, flip it and sear the other side. After both sides are seared, you can lower the heat to finish cooking the inside to your desired doneness.
- Rest is Best. Always let your meat rest on a cutting board for 5-10 minutes before slicing. This allows the juices to redistribute, ensuring a tender, flavorful result.
Does the Type of Electric Skillet Matter for Searing?
Absolutely. While you can get a decent sear in most skillets, some are better equipped for the job. Key features like a thick, heavy base (for even heat retention) and a powerful heating element are crucial. If you’re serious about searing, look for a skillet that can confidently reach and maintain that 400-450°F range.
“A common mistake people make is blaming their technique when it’s really their equipment,” notes culinary tech expert Sarah Jenkins. “An electric skillet with poor heat distribution will create hot spots, leading to an uneven sear—partially burnt and partially grey. Consistent, powerful heating is the foundation of a great crust.”
|
Our Picks for the Best Electric Skillet in 2025
As an Amazon Associate, we earn from qualifying purchases.
|
||
| Num | Product | Action |
|---|---|---|
| 1 | bella Make & Take Electric Skillet, Fits-anywhere™ kitchenware, EverGood™ Ceramic Coating, Adjustable Temperature & Dishwasher-Safe Tempered Glass Lid, Cast Aluminum Base, 1200 Watt, Surf |

|
| 2 | Presto 06857 16-inch Electric Foldaway Skillet, Black |
|
| 3 | Presto 07117 12\" Electric Skillet with glass cover |
|
| 4 | BLACK+DECKER Electric Skillet, Variable Temperature Control, Nonstick Cooking Surface, Dishwasher Safe, Tempered Glass Lid, 12\"x15\" |
|
| 5 | Presto 06852 16-Inch Electric Skillet with Glass Cover |
|
| 6 | Chefman XL Electric Griddle with Removable Temperature Control, Immersible Flat Top Grill, Burger, Eggs, Pancake Griddle, Nonstick Extra Large Cooking Surface, Slide Out Drip Tray, 10 x 20 Inch |
|
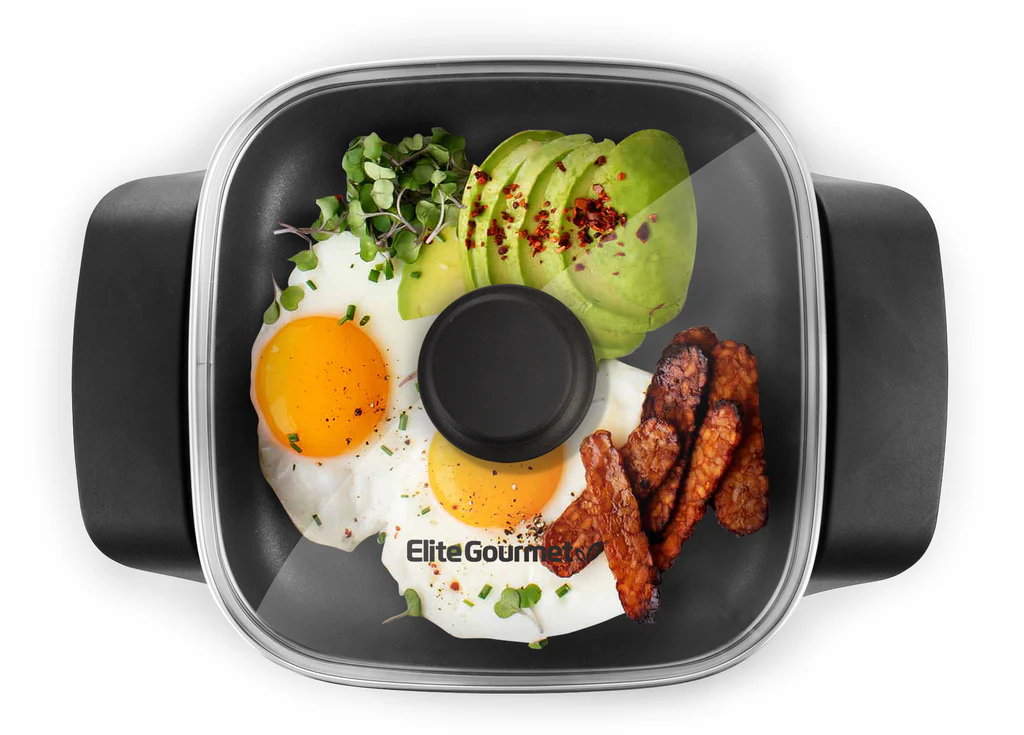
| 7 | Elite Gourmet 12\" x 12\" x 3” Ceralast™ Ceramic Non-stick PFAS Free, Dishwasher Safe Electric Skillet, Xtra Deep Dish, Rapid Heat 1200W, Black |
|
| 8 | Elite Gourmet EG808 8” x 8\" Non-stick Electric Skillet, Dishwasher Safe with Tempered Glass Vented Lid, Rapid Heat Up, 600W, Black |
|
| 9 | Elite Gourmet EG-6203# Extra Deep 16\"x13\"x3.2\" (10.5Qt.) Scratch Resistant, Easy Pour Spout Dishwasher Safe, Non-stick Electric Skillet with Glass Vented Lid, Adjustable Temperature, Black |
|
| 10 | Crux Extra Deep Nonstick Scratch Resistant Electric Skillet with Removeable Temperature Probe, 12\" x 12\", silver (14620) |
|
When looking for a new skillet, consider the surface. A high-quality non-stick surface can work well, but some purists prefer stainless steel for its ability to create fond—the delicious browned bits that stick to the bottom of the pan and are perfect for making a pan sauce.
Common Searing Mistakes to Avoid (We’ve All Been There!)
Even with the perfect temperature, a few common pitfalls can ruin your results.
- Overcrowding the Pan: Tossing too much food in at once will drop the temperature dramatically and cause everything to steam instead of sear. Cook in batches if you have to; your patience will be rewarded.
- Using a Cold Protein: Pull your steak or chicken out of the fridge about 20-30 minutes before cooking. A room-temperature protein will sear more evenly than an ice-cold one.
- Flipping Too Soon: If you try to flip your meat and it’s sticking, it’s not ready. A proper crust will release itself from the pan. Give it another 30-60 seconds and try again.
- Forgetting to Deglaze: After searing, you’ll have flavorful browned bits (fond) stuck to the skillet. Don’t wash them away! Lower the heat, add a splash of broth, wine, or even water, and scrape them up to make a simple, incredible pan sauce. Check out our guide to making the most of your pan drippings for more ideas.
Frequently Asked Questions (FAQ)
Q: What is the best heat setting for searing steak in an electric skillet?
A: The ideal temperature range is 400°F to 450°F. This is hot enough to create a deep brown crust quickly without burning the steak or causing the oil to smoke excessively. This usually corresponds to a “Medium-High” or “High” setting on the dial.
Q: Can I get a good sear on a non-stick electric skillet?
A: Yes, you absolutely can! The key is to preheat the skillet properly and use just enough oil to coat the surface. While you might not get the same level of fond as on stainless steel, a quality non-stick surface can produce an excellent crust.
Q: How do I know when my electric skillet is hot enough without a thermometer?
A: Once you add your oil, watch for it to shimmer. When you tilt the skillet, the oil should flow very fluidly, like water. A tiny drop of water flicked into the pan should sizzle and evaporate on contact. This indicates it’s ready for searing.
Q: Why is my food sticking when I try to sear?
A: There are two likely culprits. Either your skillet wasn’t preheated enough, or you’re trying to flip the food too early. A properly seared crust will form and release from the pan’s surface naturally when it’s ready.
Q: What’s the best oil to use for searing at high heat?
A: You need an oil with a high smoke point. Good choices include avocado oil, grapeseed oil, canola oil, sunflower oil, or refined peanut oil. Avoid oils with low smoke points like extra virgin olive oil or unrefined coconut oil for the initial sear.
The Final Sizzle
Mastering the art of the sear is a game-changer, and your electric skillet is more than up to the task. It’s not about mindlessly cranking the dial to max; it’s about understanding the science and finding that perfect 400-450°F sweet spot. By following these techniques, you can transform simple proteins and vegetables into culinary masterpieces with incredible depth of flavor and texture.
So the next time you’re wondering what is the best heat setting for searing, you’ll have the answer and the confidence to nail it every single time. Now, go forth and get that sizzle! We’d love to hear about your searing successes in the comments below.