Let’s be honest, there are few things in this world more satisfying than biting into a piece of perfectly fried chicken. We’re talking about that shatteringly crisp, golden-brown skin giving way to a juicy, tender interior. But achieving that perfection can feel like a culinary mystery. If you’ve ever ended up with chicken that’s either burnt on the outside and raw in the middle, or a sad, greasy mess, I’m here to tell you the secret isn’t some fancy batter or a family heirloom recipe. It’s all about the heat. So, What Temperature For Frying Chicken is the magic number?
The ideal temperature range for frying chicken is between 350°F and 375°F (175°C to 190°C). Nailing this specific window is the single most important factor in achieving fried chicken that’s crispy, juicy, and cooked through safely. And your electric skillet? It’s your secret weapon for hitting and holding that temperature with pinpoint accuracy.
Why is Temperature Control So Important?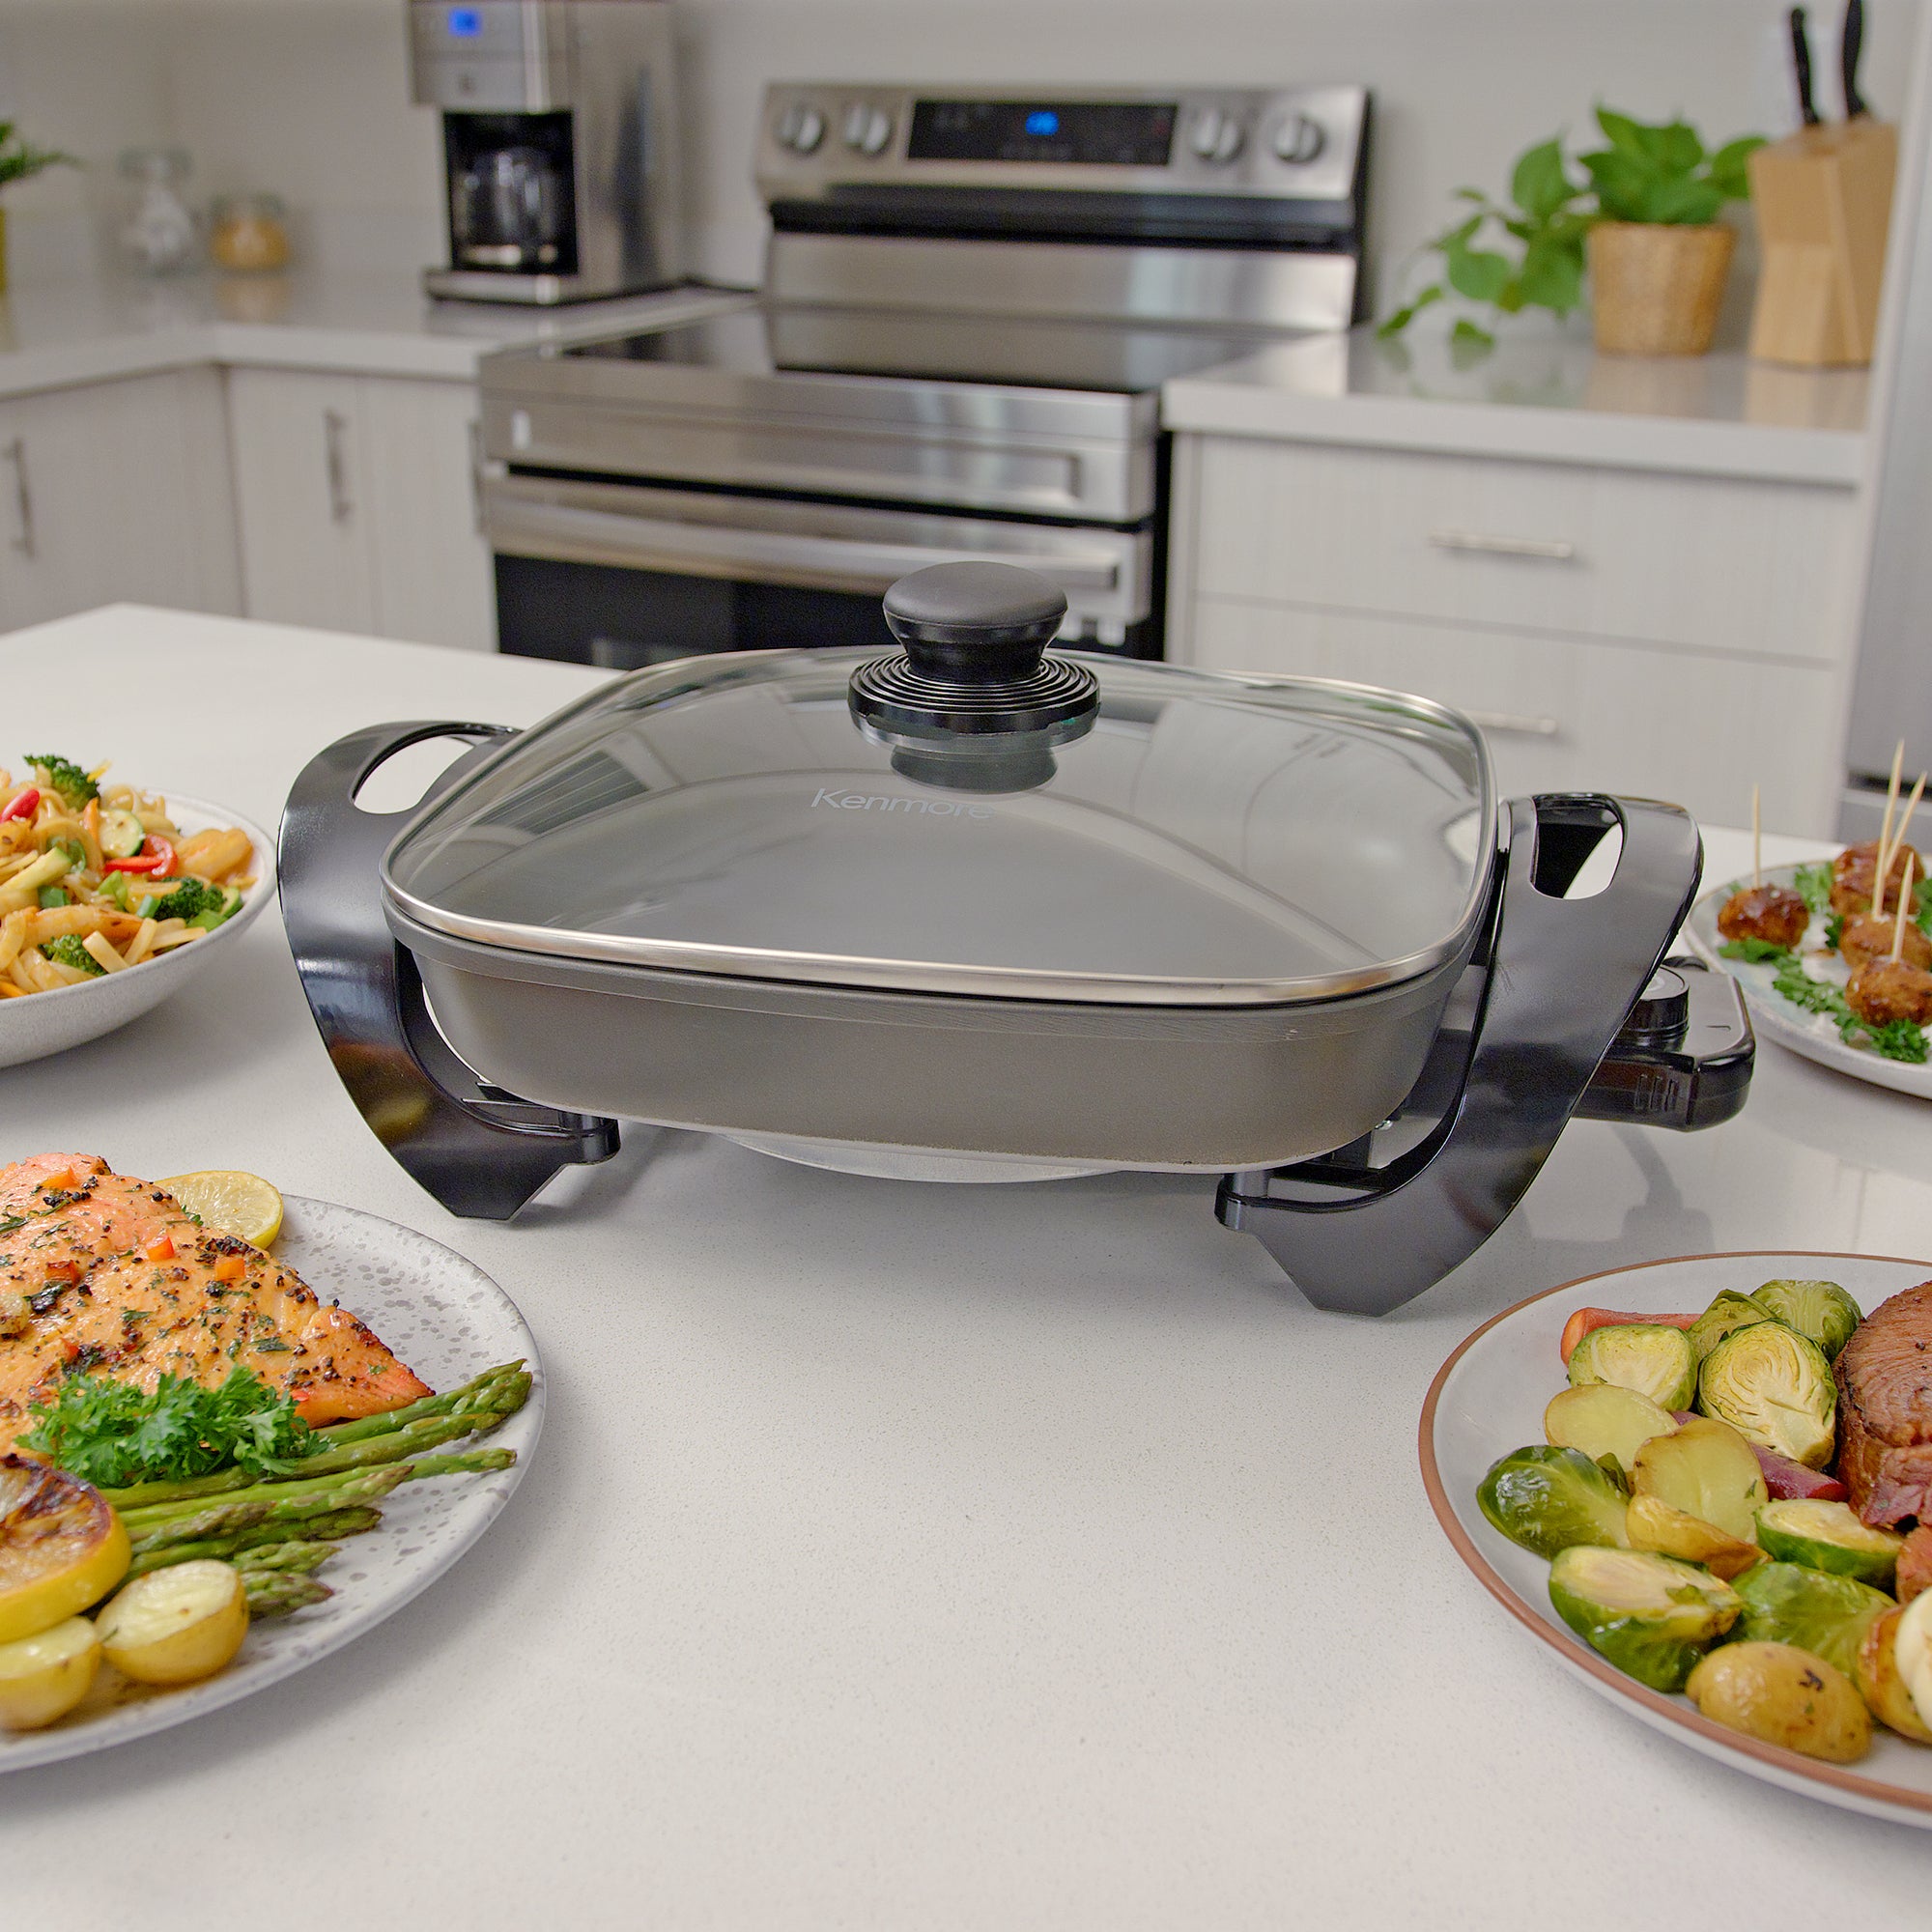
Think of your hot oil as a high-stakes cooking environment. The temperature dictates everything that happens from the moment the chicken hits the pan. Getting this right is the difference between culinary triumph and a disappointing dinner.
- If the Temperature is Too High (Above 375°F): The outside of your chicken will cook way too fast. The crust will darken, burn, and become bitter long before the heat has a chance to penetrate the thickest part of the meat. You’ll be left with a beautiful-looking piece of chicken that is dangerously undercooked on the inside. It’s a classic rookie mistake.
- If the Temperature is Too Low (Below 350°F): This is the primary culprit behind greasy chicken. When the oil isn’t hot enough, the crust takes too long to form. Instead of quickly crisping up and creating a protective barrier, the chicken just sits there, absorbing oil like a sponge. The result is a heavy, soggy coating and meat that tastes more oily than chicken-y.
“The goal of frying is to create a rapid dehydration of the surface, forming a crust that locks in moisture. That process only happens efficiently within a very specific temperature range. An electric skillet’s thermostat is your best friend in this process.” – Fictional Quote from John Carter, Appliance Engineer
The Electric Skillet: Your Fried Chicken MVP
You might have a cast-iron pan or a Dutch oven, and they’re great tools. But when it comes to frying chicken, an electric skillet has some serious advantages that make it the Most Valuable Player in your kitchen.
- Precise Temperature Control: This is the big one. You don’t have to guess or constantly adjust the flame on your stovetop. You simply set the dial to your target temperature (say, 365°F), and the skillet’s internal thermostat works to maintain that heat. It cycles on and off to prevent the oil from getting too hot or too cold.
- Even Heating Surface: Most electric skillets have a heating element that snakes across the entire bottom of the pan. This eliminates the “hot spots” you often find on stovetop burners, ensuring every piece of chicken cooks at the same rate.
- Large Surface Area: The wide, flat bottom of most electric skillets allows you to fry more pieces at once without overcrowding the pan—another key to crispy success.
- High Sides: The deep walls help contain oil splatter, making for a safer and cleaner cooking experience. No one enjoys cleaning up a greasy stovetop.
|
Our Picks for the Best Electric Skillet in 2025
As an Amazon Associate, we earn from qualifying purchases.
|
||
| Num | Product | Action |
|---|---|---|
| 1 | Presto 06852 16-Inch Electric Skillet with Glass Cover |

|
| 2 | bella Make & Take Electric Skillet, Fits-anywhere™ kitchenware, EverGood™ Ceramic Coating, Adjustable Temperature & Dishwasher-Safe Tempered Glass Lid, Cast Aluminum Base, 1200 Watt, Surf |
|
| 3 | Crux Extra Deep Nonstick Scratch Resistant Electric Skillet with Removeable Temperature Probe, 12\" x 12\", silver (14620) |
|
| 4 | Presto 06857 16-inch Electric Foldaway Skillet, Black |
|
| 5 | Elite Gourmet EG-6203# Extra Deep 16\"x13\"x3.2\" (10.5Qt.) Scratch Resistant, Easy Pour Spout Dishwasher Safe, Non-stick Electric Skillet with Glass Vented Lid, Adjustable Temperature, Black |
|
| 6 | Chefman XL Electric Griddle with Removable Temperature Control, Immersible Flat Top Grill, Burger, Eggs, Pancake Griddle, Nonstick Extra Large Cooking Surface, Slide Out Drip Tray, 10 x 20 Inch |
|
| 7 | BLACK+DECKER Electric Skillet, Variable Temperature Control, Nonstick Cooking Surface, Dishwasher Safe, Tempered Glass Lid, 12\"x15\" |
|
| 8 | Elite Gourmet 12\" x 12\" x 3” Ceralast™ Ceramic Non-stick PFAS Free, Dishwasher Safe Electric Skillet, Xtra Deep Dish, Rapid Heat 1200W, Black |
|
| 9 | Presto 07117 12\" Electric Skillet with glass cover |
|
| 10 | Elite Gourmet EG808 8” x 8\" Non-stick Electric Skillet, Dishwasher Safe with Tempered Glass Vented Lid, Rapid Heat Up, 600W, Black |
|
How to Fry Chicken in an Electric Skillet: A Step-by-Step Guide
Ready to make the best fried chicken of your life? Grab your electric skillet and let’s get started.
- Prep Your Chicken: For the best results, let your chicken sit at room temperature for about 30 minutes before frying. Frying ice-cold chicken will cause the oil temperature to drop drastically. Pat each piece completely dry with paper towels. Moisture is the enemy of crispy skin!
- Choose Your Oil: You need an oil with a high smoke point, meaning it can get hot without burning and smoking. Great choices include peanut, canola, vegetable, or safflower oil. Pour about 1 to 1.5 inches of oil into the skillet.
- Preheat Like a Pro: This step is non-negotiable. Set your electric skillet to 365°F and let it preheat fully. Most skillets have an indicator light that turns off when the target temperature is reached. Always wait for that light!
- Time to Fry: Using tongs, carefully place your chicken pieces into the hot oil, skin-side down. Do not overcrowd the pan! Leave plenty of space between pieces. Overcrowding lowers the oil temperature and causes the chicken to steam instead of fry. Work in batches if you have to.
- Cook and Flip: Let the chicken fry undisturbed for about 6-8 minutes per side. You’re looking for a deep golden-brown color. Only flip the chicken once to ensure a stable, crispy crust.
- Check for Doneness: Color can be deceiving. The only way to know for sure if your chicken is cooked is to use an instant-read meat thermometer. The internal temperature in the thickest part of the meat (without touching bone) must reach 165°F (74°C). This is the USDA-recommended temperature for poultry safety.
- Drain and Rest: Once cooked, remove the chicken from the skillet and place it on a wire rack set over a baking sheet. This allows air to circulate, keeping the bottom from getting soggy. Never drain fried foods on paper towels; they just trap steam and create a soggy bottom. Let it rest for a few minutes before serving.
What Temperature for Frying Chicken Pieces? A Quick Chart
While 350-375°F is the universal oil temperature, different cuts of chicken have slightly different cooking times. Always verify with a meat thermometer.
- Wings: 8-10 minutes total
- Drumsticks: 12-15 minutes total
- Thighs (bone-in): 13-16 minutes total
- Breasts (bone-in): 15-20 minutes total
Note: Boneless cuts will cook faster than bone-in cuts.
Frequently Asked Questions
Q: Can I cover the electric skillet while frying chicken?
A: It’s generally not recommended. Covering the skillet traps steam, which will drip back into the oil and make your chicken’s crust soggy. A splatter screen is a much better option if you’re concerned about messes.
Q: How do I know when the oil is at the right temperature without a thermometer?
A: While an electric skillet’s dial is very reliable, you can double-check. A classic trick is to stick the end of a wooden spoon into the oil. If the oil bubbles steadily around the wood, it’s ready. If it bubbles furiously, it’s too hot. If there are few to no bubbles, it’s too cold.
Q: Why isn’t my fried chicken crispy?
A: The most common reasons are oil temperature being too low, overcrowding the pan, or not patting the chicken completely dry before breading. Following the steps above, especially preheating your electric skillet properly, will solve this.
Q: How much oil do I need to use in my electric skillet?
A: For pan-frying, you’ll want about 1 to 1.5 inches of oil. This is enough to come halfway up the side of the chicken pieces, ensuring even cooking when you flip them. You don’t need to deep-fry or fully submerge the chicken.
Q: Can I reuse the frying oil?
A: Yes, you can. Let the oil cool completely, then strain it through a fine-mesh sieve or cheesecloth to remove any food particles. Store it in an airtight container in a cool, dark place. You can typically reuse it 2-3 times before it starts to break down and impart off-flavors.
The Final Word on Frying Temperature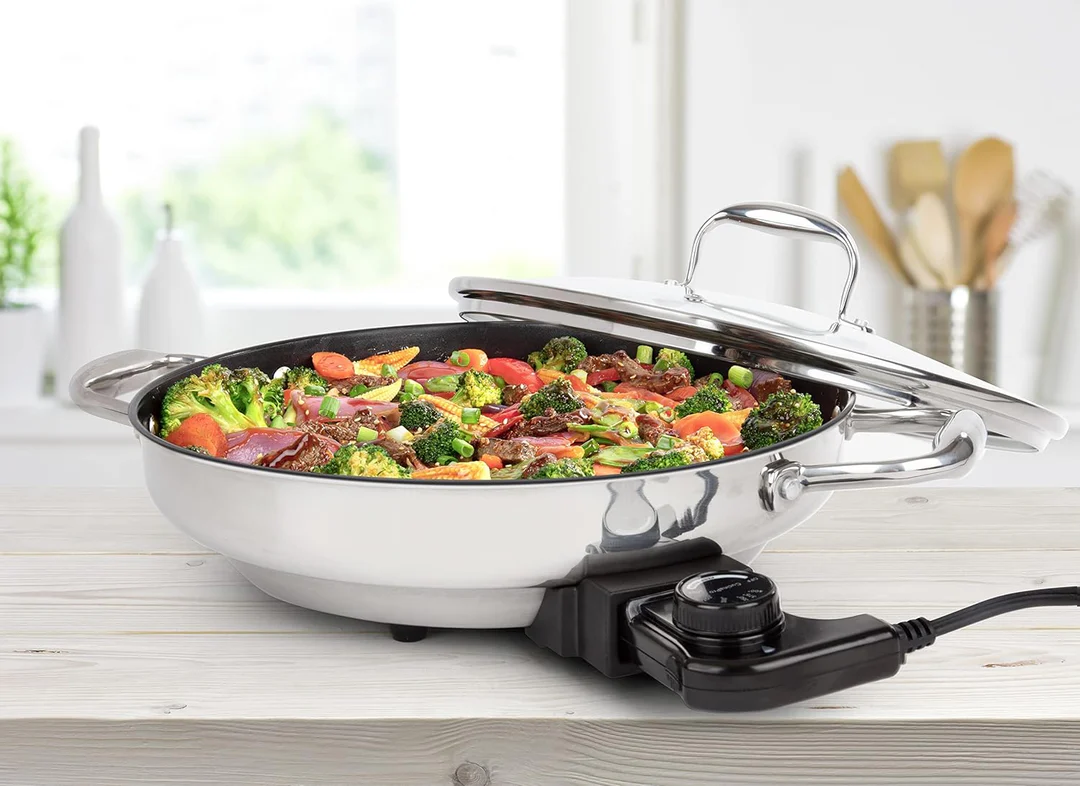
So, when you next ask yourself, “what temperature for frying chicken,” remember the golden range: 350°F to 375°F. It’s the sweet spot that transforms simple ingredients into a culinary masterpiece. By using an electric skillet to lock in that perfect temperature, you’re not just cooking; you’re guaranteeing a crispy, juicy, and perfectly cooked result every single time. It takes the guesswork out of the equation, leaving you with nothing but delicious success. Now, go forth and fry with confidence! We’d love to hear about your electric skillet chicken adventures in the comments below.